Tire Maintenance & Safety
Free shipping
Best price guarantee
SimpleCrew exclusive savings
0% APR Financing
Tire replacement coverage
24/7 roadside assistance
Easy returns
Last updated 8/14/2025 - Originally published 12/09/2022
Written by SimpleTire, Expertly reviewed by Brett Antosh
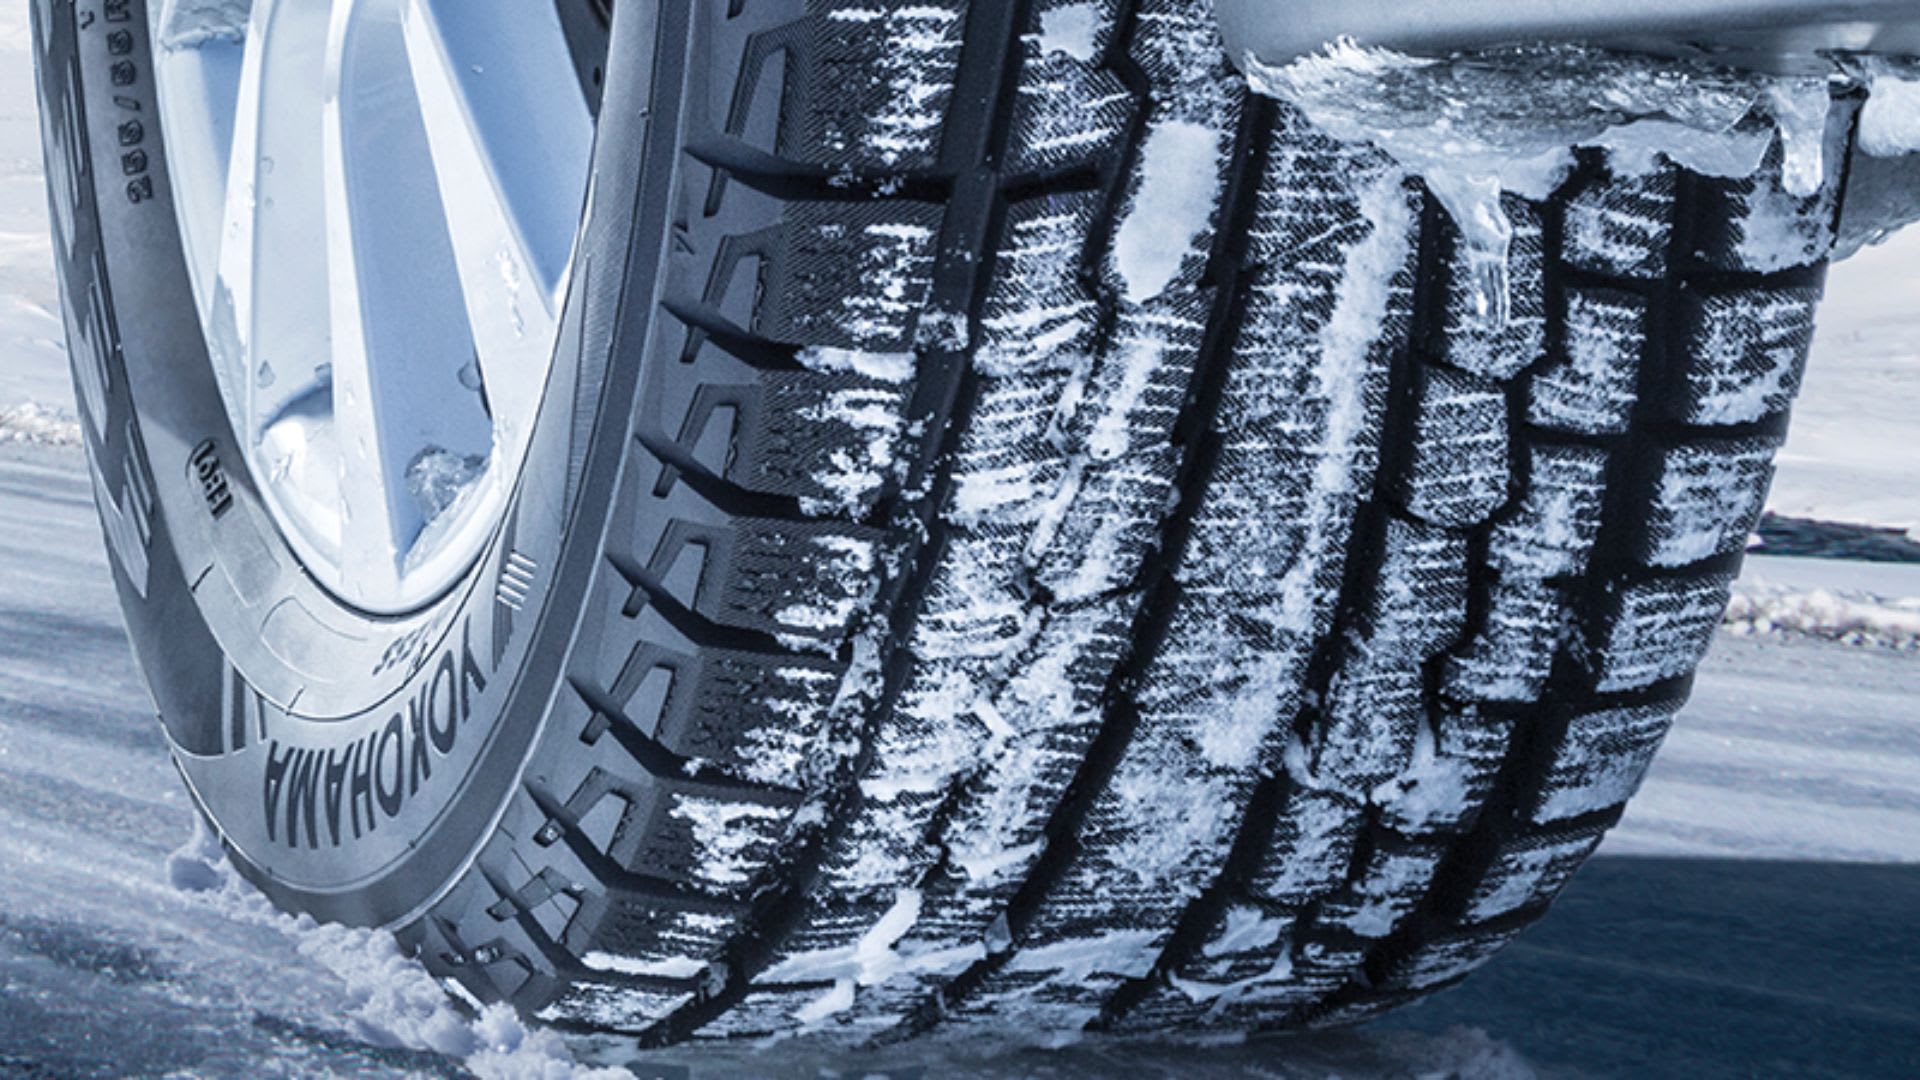
Winter weather transforms roads into treacherous paths where even experienced drivers face challenges. Snow and ice reduce tire traction dramatically, making simple tasks like stopping or turning potentially dangerous.
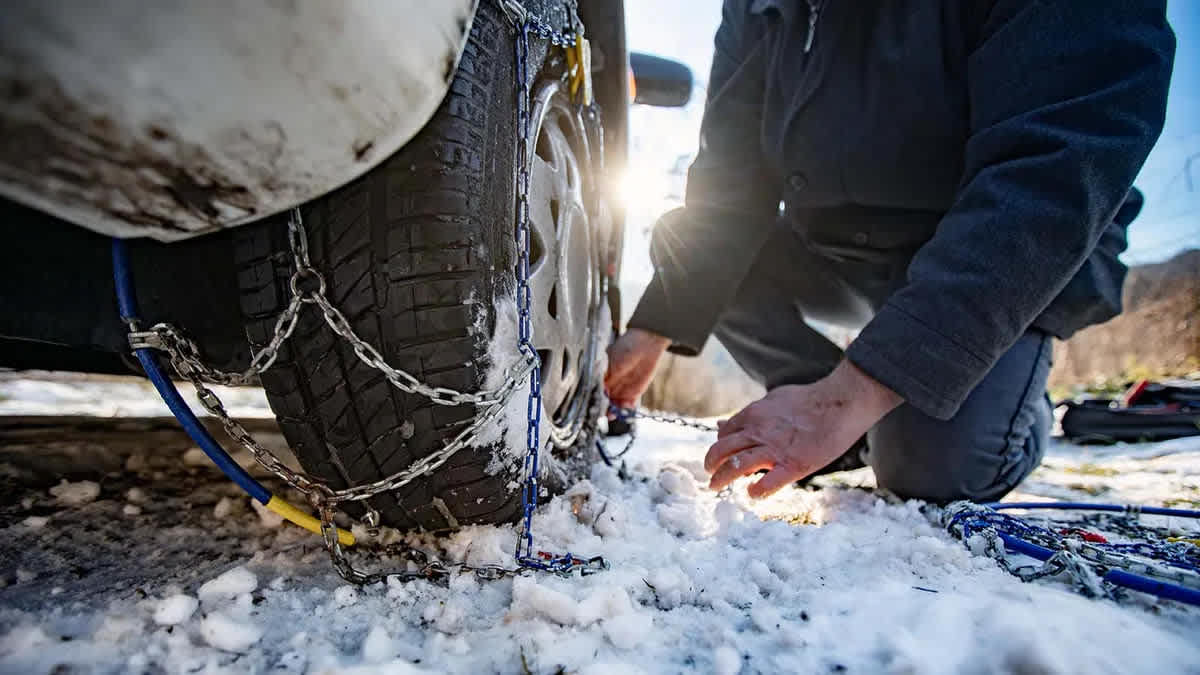
Tire chains serve as a critical safety tool when winter conditions overwhelm standard tires. These metal links wrap around your tires to bite through snow and grip icy surfaces, providing the extra traction needed to maintain control.
Many states require drivers to carry chains during the winter months, especially in mountainous regions. Understanding proper chain installation before you need them can mean the difference between reaching your destination safely and becoming stranded on a snow-covered highway.
Why Use Tire Chains for Winter Driving?
Tire chains transform your vehicle's winter performance by creating metal contact points that dig into snow and ice. When temperatures drop and roads become slick, your regular tires — even winter tires — may struggle to maintain adequate grip. Chains provide mechanical traction that cuts through packed snow and grips ice in ways rubber alone cannot achieve.
The physics behind tire chains is straightforward: metal links create concentrated pressure points that penetrate snow layers and find purchase on the road surface below. This enhanced grip translates directly into better acceleration, more controlled braking, and improved steering response. Without chains, your vehicle relies solely on tire tread patterns and rubber compounds that become less effective as conditions worsen.
Safety statistics underscore the importance of proper chain usage. Mountain passes and steep grades become particularly hazardous during winter storms, where vehicles without chains often slide backward or lose control entirely. Emergency responders frequently report accidents involving vehicles that attempted challenging winter roads without adequate traction devices. By installing chains when conditions warrant, you protect not only yourself and your passengers but also other drivers sharing the road.
State regulations reflect this safety imperative — many western states mandate chain usage or carrying chains during specific dates or weather conditions. California, Colorado, Wyoming, and Utah enforce strict chain laws with hefty fines for non-compliance. Even states without mandatory chain laws recommend their use when encountering severe winter weather, recognizing chains as essential safety equipment rather than optional accessories.
How to Install Tire Chains
Step 1: Prepare Your Vehicle
Position your vehicle on a stable, flat area to facilitate the installation process. Opt for a location that offers ample space and keeps you distanced from moving traffic, such as a designated pull-off or parking area. This ensures a secure environment for maneuvering around the tires.
Firmly set your vehicle to prevent any shift in position while you work. Instead of relying solely on the parking brake, consider supplementing with wheel chocks for added security. Illuminate your vehicle with hazard lights, providing a clear signal to others that work is underway. This visibility is crucial in adverse weather conditions where sightlines may be compromised, helping to alert passing drivers of your stationary vehicle.
Make sure the gear shift is in the appropriate position for your vehicle type. This, in conjunction with other safety measures, helps maintain vehicle stability. With these steps completed, you can confidently start the process of attaching your tire chains, assured of both safety and peace of mind.
Step 2: Inspect and Untangle Chains
Start by unpacking the chains from their storage container, taking care to avoid unnecessary tangles. Lay them out on a smooth surface to facilitate a thorough inspection. This careful organization is vital to prevent problems during installation.
As you arrange the chains, examine each link for integrity and alignment. Look for signs of wear like rust or deformation, which can affect performance. Glide your fingers along each section to identify potential issues that could compromise the chain's reliability.
Ensure that each link lies flat and separate to avoid overlapping that might create stress points. By confirming that no sections cross over one another, you ensure a more efficient fitting process. Through this meticulous preparation, you enhance both the ease and safety of the chain installation.
Step 3: Position Chains on the Tires
With the vehicle secured and chains prepared, begin by carefully laying the chains over the top of each tire. Make sure each chain drapes evenly to cover the tire's surface completely, aligning the cross-links with the tread grooves. This precise alignment is essential to maintain balance and optimize grip on snowy roads.
Ensure the chains hang symmetrically on both sides of the tire. This symmetrical positioning is key — it ensures that, as the vehicle moves, the chains maintain consistent pressure and grip. Center the chains around the tire to prevent any slack that might lead to noise or potential damage during travel.
Reach behind the tire to connect the chains securely at the top. Ensure the hooks or fasteners are tightly latched and that the chains remain centered. This firm connection prevents any shifting as the tires rotate, keeping the chains in continuous contact with the road. This careful positioning prepares the chains to perform effectively in challenging winter conditions.
Step 4: Secure the Chains
Initiate the securing process by engaging the chain connectors specific to your model, referencing the detailed instructions that accompany the chains. This ensures compatibility and optimal performance during use. Each chain design varies, so it’s crucial to understand the mechanism that best aligns with your vehicle's needs.
When fastening, focus on aligning each link with precision to maintain stability. This detailed attention ensures that connections are reliable, minimizing any potential for movement during your journey. A well-aligned chain maintains its grip on the tire, enhancing safety and performance.
Conduct a thorough inspection to ensure all components are secure, focusing on consistent tension across the tire's surface. Utilize tensioners to adjust and fine-tune the fit, ensuring the chains conform closely to the tire's shape. By achieving the right tension, you enhance the chain's ability to provide steady traction on winter roads.
Step 5: Test the Fit
Gently roll your vehicle forward a short distance to help the chains settle naturally around the tires. This slight movement allows the chains to adjust and align with the tire's surface, ensuring they grip effectively. Pay attention to any unusual sounds or sensations as you do this.
Once you stop, exit the vehicle and carefully examine each tire. Look for even distribution of the chains, ensuring they are neither loose nor misaligned. Check that the chains are tight enough to stay in place but not overly constricting. If you detect any slack, adjust the fasteners or tensioners to achieve a snug fit.
Focus on the precise alignment of the links, confirming they remain evenly spaced across the tire's width. Proper alignment ensures balanced traction and minimizes the risk of damage to both the chains and the tires. This diligent check completes the installation, readying the chains for optimal performance on wintry roads.
Tips on Winter Driving Safety
1. Practice Makes Perfect
Become proficient with your tire chains by practicing their installation and removal well before winter conditions hit. Set aside time in a dry, familiar place to go through the process step-by-step. This preparation helps build muscle memory, allowing you to act quickly and effectively when faced with inclement weather. Discovering any fitment issues or missing parts during practice can prevent delays or difficulties when the chains are truly needed.
2. Slow and Steady
Adopt a cautious approach to speed when driving with chains; reduce your pace to maintain optimal control and prevent unnecessary strain on the chains. Excessive speed can cause the chains to loosen or break, presenting safety hazards. By driving at a moderate pace, you ensure your vehicle responds predictably, reducing the risk of skidding or losing control on slick surfaces. Prioritizing safety over speed helps you navigate wintry roads with confidence.
3. Avoid Bare Pavement
Preserve your chains' effectiveness by using them exclusively on snowy or icy surfaces. Continuous contact with clear pavement accelerates wear and can damage both the chains and your tires. When road conditions improve, promptly remove the chains to prevent unnecessary wear and extend their lifespan. Proper care and usage ensure your chains remain reliable allies in challenging winter weather, ready to provide traction when conditions demand it.
Mastering tire chain installation empowers you to tackle winter's worst conditions with confidence and control. While chains provide essential traction in severe weather, having the right tires for your vehicle and driving conditions forms the foundation of winter safety. When you're ready to upgrade your tires for better year-round performance, we make it easy to shop for tires online and find the best deals that match your specific needs.
Snow chains should be put on the front wheel of front-wheel drive and four-wheel drive vehicles, and on the rear of rear-wheel drive vehicles. Install snow chains on your semi truck's drive wheels and on all four tires for all-wheel drive.
Tires with chains on them offer traction on slick surfaces because they dig deeper into the ice and snow.
Ready to find the perfect tires?
Search By